Install conda and set up a Pytorch 1.7, CUDA 11.1 environment on Ubuntu/Windows
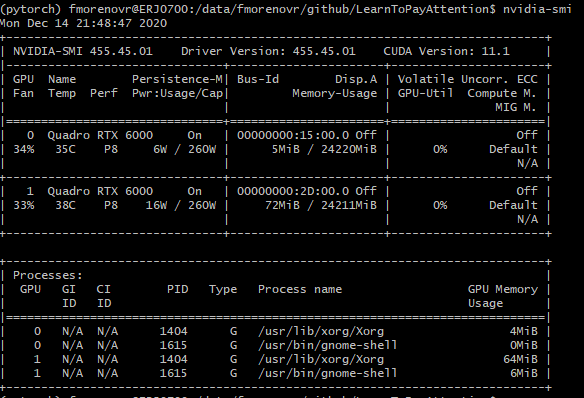
In this fast post, you will know how to set up an environment using conda (Anaconda) and PyTorch last stable version (1.7.1) with an Nvidia Driver 11.1; first of all, you can check how to successfully install CUDA for ubuntu here, at the first half of that post you can learn how to install any driver-version for your GPU.

Installing Conda
First, you need to install Anaconda on your computer. To do this, you can check the installing guide from the website in any OS here.
Setting up a Conda environment
Then, set up a conda environment ready to use PyTorch, once you installed conda, just type:
conda create --name pytorch python=3.7
conda activate pytorch
conda install pytorch==1.7.0 torchvision torchaudio cudatoolkit=11.0 -c pytorch
conda install -c conda-forge tensorboardx notebook -y
conda install -c conda-forge opencv pandas matplotlib tqdm -y
conda install -c conda-forge scikit-learn scikit-image -y
conda install -c conda-forge numpy=1.16.6 scipy=1.5.3 -y
conda install -c anaconda h5py=2.10.0 -y# Some specific package
conda install -c anaconda pywget -y
conda install -c conda-forge shapely
- The first line creates our environment called “PyTorch” and you can select the python version (I choose version 3.7).
- The second line activates the created environment, in other words, changes our session to our PyTorch environment.
- The third line install PyTorch using the Cuda toolkit 11.0, but Are you wondering why I used toolkit 11.0 when my computer has a CUDA version 11.1? — — Well, let me say to you that Anaconda has the amazing option that you can install a Cuda toolkit version less than your driver into your conda environment. Besides you can check versions and Cuda toolkit Pytorch official guide installation.
- Then, the next lines install some other libraries that you would use (depending on your task), and always is good to have them installed :)
After all this process, you are free to check your python version inside your conda environment and check if Cuda is available as well.

So, now you can start creating your model and developing some projects :)
I hope you enjoyed reading this post, if you liked and founded it helpful share it pls.
Final notes: You can do the same on your Windows just getting the installer from here.
